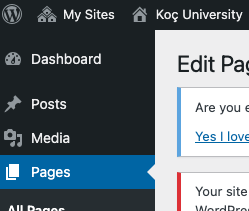
Media consists of the images, video, recordings, and files that you upload and use in your blog. Media is typically uploaded and inserted into the content when writing a Post or writing a Page.

From the dashboard: Go to Media → Library to view files you’ve already uploaded, or Media → Add New to upload new files. This method is useful for uploading files you want to use later.
If you would like to re-use a file you have previously uploaded to your WordPress Media Library, simply click Media Library, find the file you want to use, and click to select it.
1) For images, the most important of the text-based details are the:
- Caption, which should contain copyright / licensing information about the image, and the name.
- Alt Text, which will be displayed if a person’s browser cannot display images, or if a person is using a screen reader to access your blog. If you do not enter Alt Text for your images, screen readers could potentially get stuck and be unable to load the rest of your blog.
- You may also wish to enter text into the Description field, and whether or not this is displayed will depend on what theme you are using. Each of these text fields accepts basic HTML (e.g. anchor tags to create links).
2) Under Attachment Display Settings, there are three drop-downs that provide you with options about how the image is displayed:
Alignment: whether the image is justified to the left, right, or center
Link to: where a visitor is taken when they click on the image. This can be useful if you are embedding a very large image that cannot be displayed at full size within the post/page you are creating; if you set this option to Media File, visitors can click on the embedded image to see a full-size version. If you are not embedding an image that needs to be viewed at full size, you can prevent the image from being clickable by setting this option to None.
Size: whenever you upload an image, the WordPress Media Library automatically generates copies of the image at standardized sizes.
3) When you are finished, click Insert Into Post/Page to continue editing your post/page.
